Trike kit installation

|
Champion gave John an estimated shipping date of March 18. The trike arrived on March 16. Two thumbs up for early delivery!
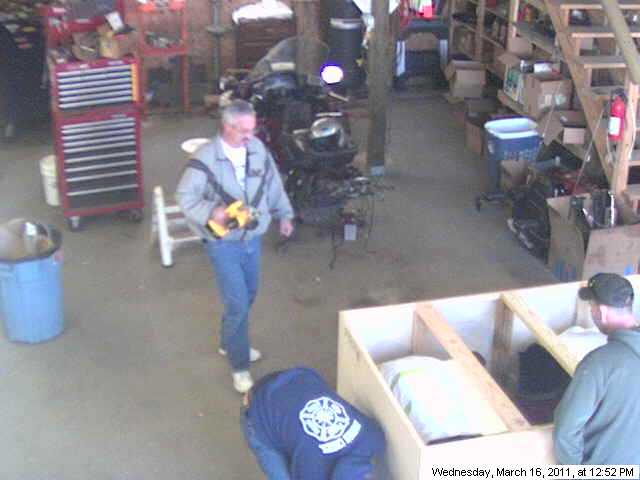
The trike kit was delivered when I was at work so John, LD, and my brother Monty were there to unload it. It took about 30 seconds for them to get into the box. I was able to watch via my security cameras.
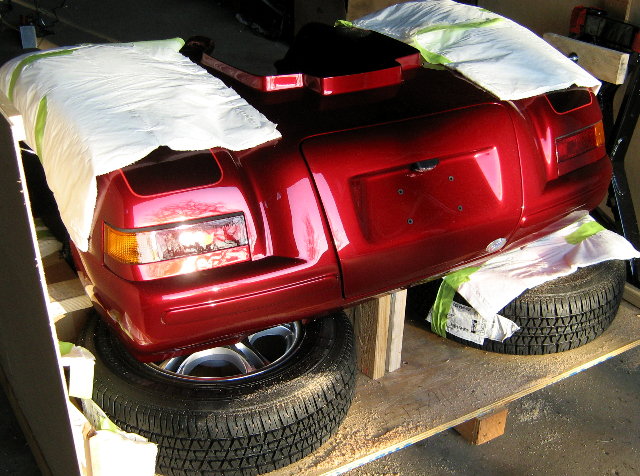
When I first saw the kit it looked like the rear end of custom painted Corvette. The paint is beautiful.
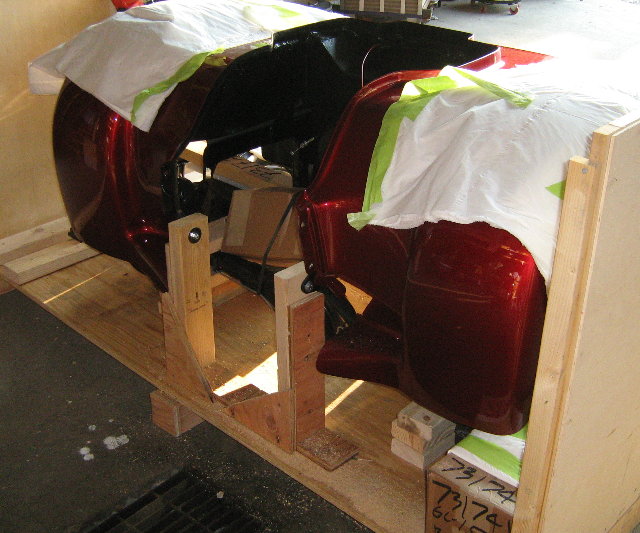
The crating is awesome.
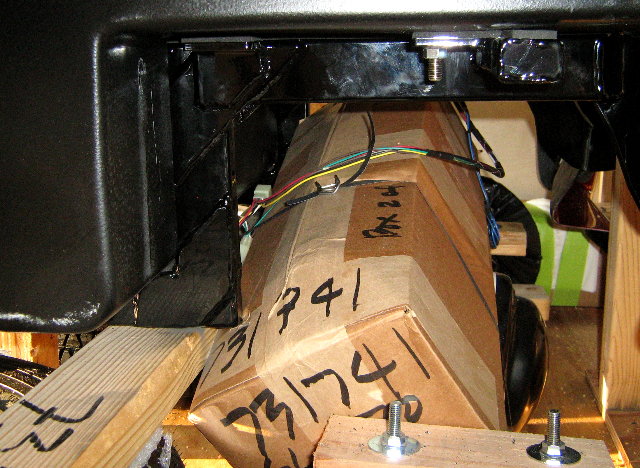
Parts were packed everywhere...
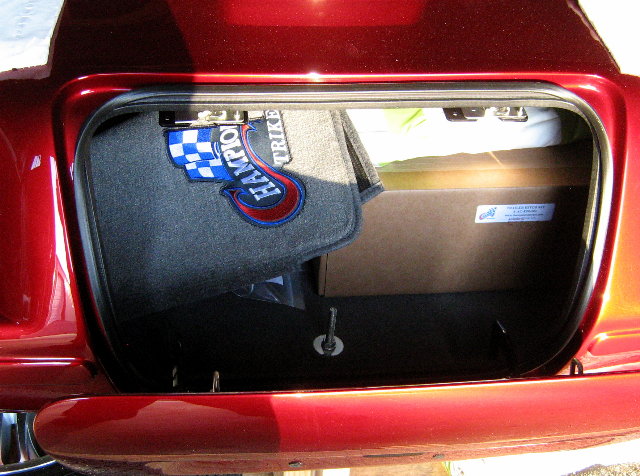
...even in the trunk.
The next evening John and his brother Mike came over after work and we started the blessed phase...assembly. The first thing to do is to deconvert the Goldwing from linked braking to normal front/rear operation. The trike will have dual rear brakes so it doesn't need the front brake using some of the rear master cylinder capacity. A '3 lb residual valve' is installed at the front master cylinder.
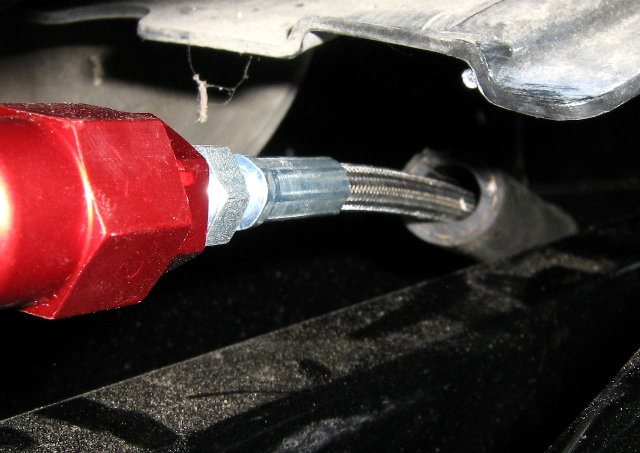
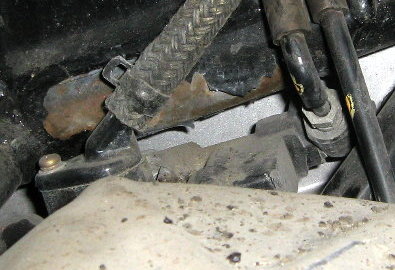
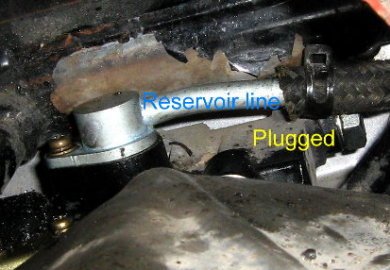
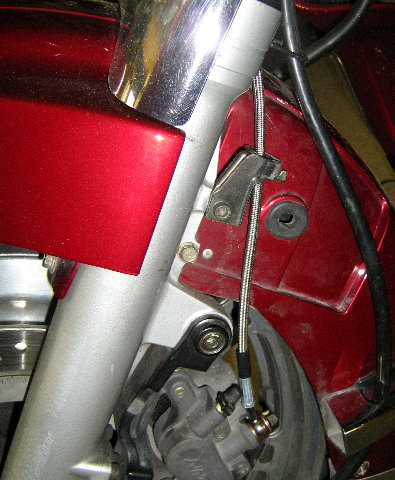 The line to the front from the rear brake is disconnected and a new braided steel line installed that will go to the other front caliper. The disconnected rear brake line won't be used so John cut and plugged it.
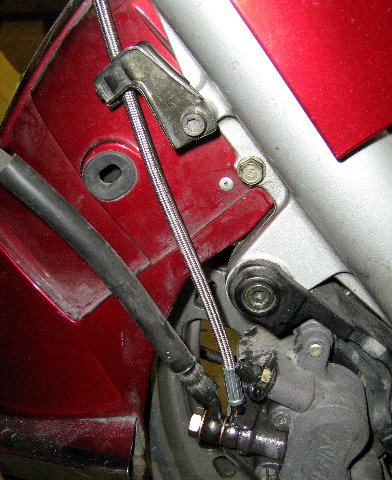
The two front brake calipers are jumpered together. The brakes are now independent.
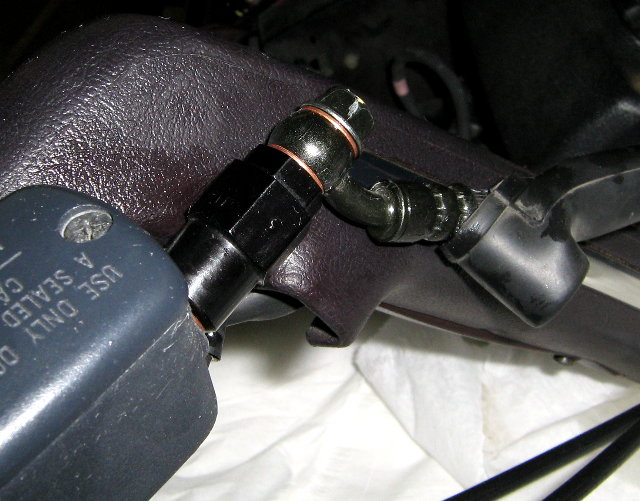
Next is the rear brakes. The factory line to the rear brakes is removed and plugged. The fitting for the rear brake reservoir is changed for one that allows more clearance for the replacement swingarm. We loosened the exhaust heat shield to better access the bolts. If I had a pipe bender I'd have made some pipes to bypass the convertor and we would have junked that monster.
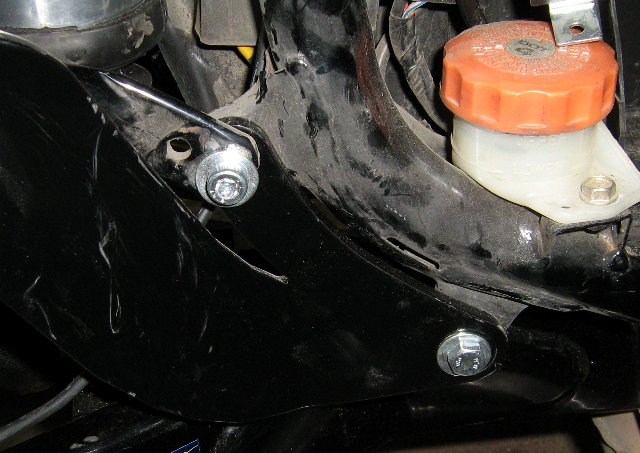
 Another view of the rear master cylinder. The factory line on the side goes to the front brakes and is removed. It is replaced with the new braided line for the rear axle.
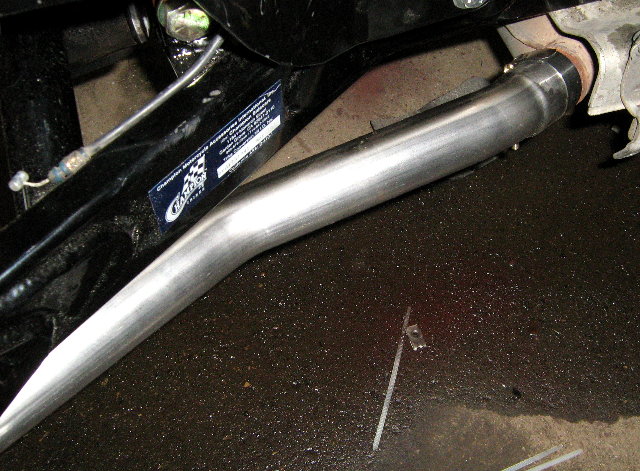
 The new brake line is ran under and over some crossbraces to allow room for the new swingarm. There is another extension that goes to the rear axle.
 We thought the installation of the new swingarm might be difficult, but it was trivial with three people. The Champion kit includes new swingarm bolts (arrow) that have normal bolt heads instead of the Allen heads of the factory bolts. Makes it a lot easier to torque.
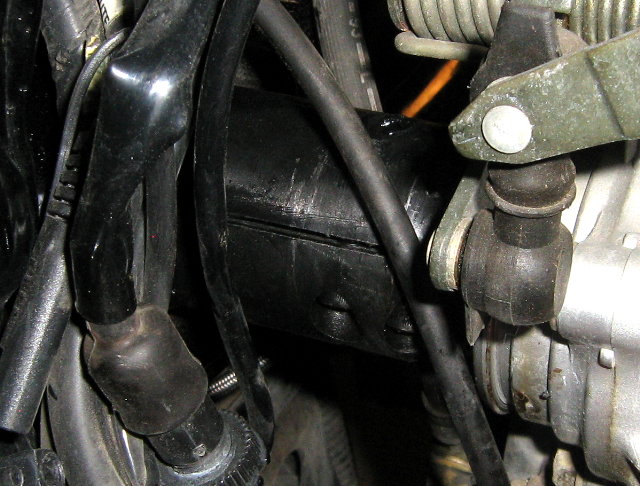
The driveshaft is slipped through the swingarm and onto the output shaft. Again...trivial.
The next step is the installation of the center shock bracket (orange) and the frame mount brackets (brownish). CAD drawings are nice, but sometimes they make things seem too simple.
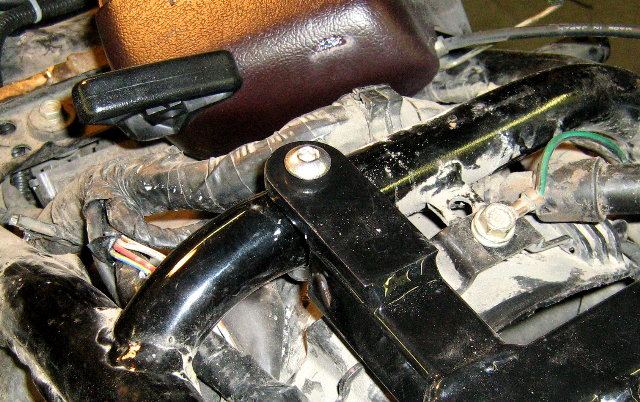
 Here is the real world you have to deal with. Clutter. Wiring. It doesn't mention anything about cutting the fender to allow for the shock. As pictured the bracket won't fit at all.
 Mike trimmed the fender for the shock and to allow the plastic wiring junctions to drop down some to allow the bracket to fit properly.

A righthand view of the bracketry.
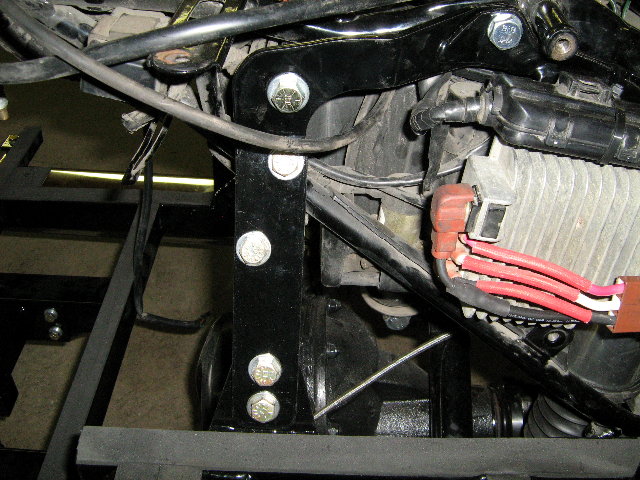
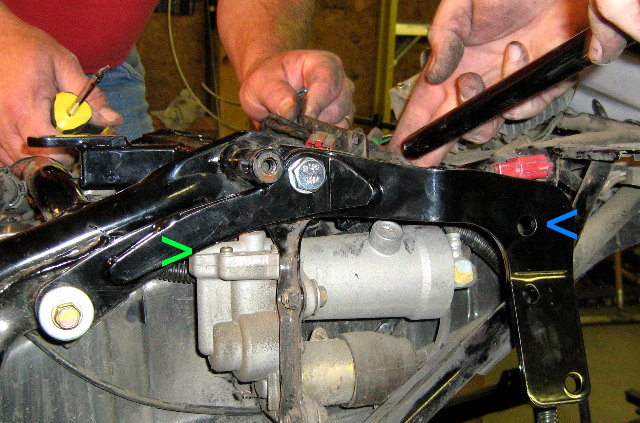
A lefthand view. The crossbrace (being installed) bolts at the blue arrow. The bracket contacted the air compressor at the green arrow. Mike the tweaked the bracket slightly for clearance.
A hole is drilled in a brace for the shock bracket.
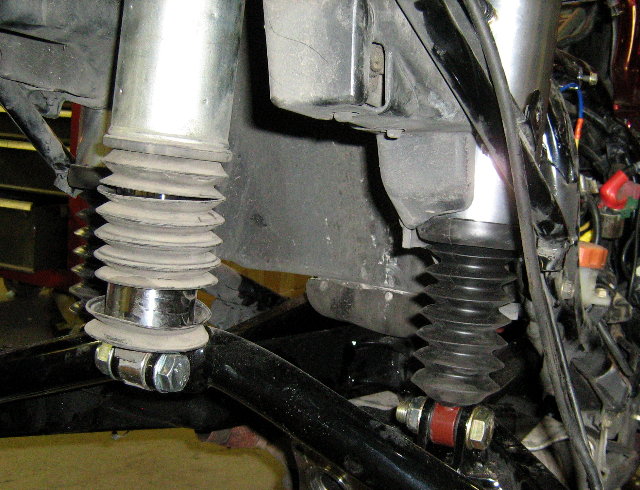
The three air shocks are installed.
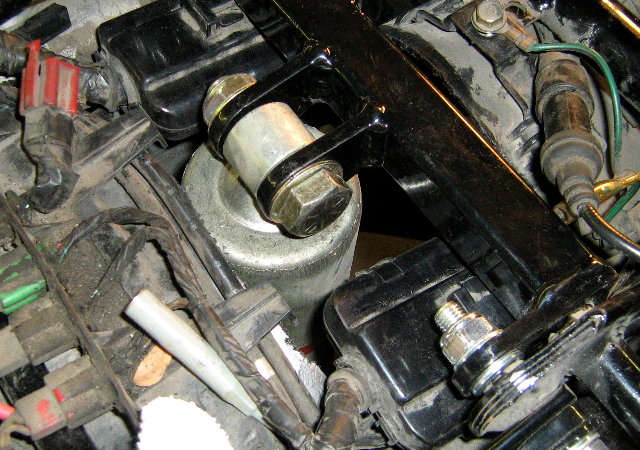
Top of the center shock. The bolt barely fit through the powder-coated holes.
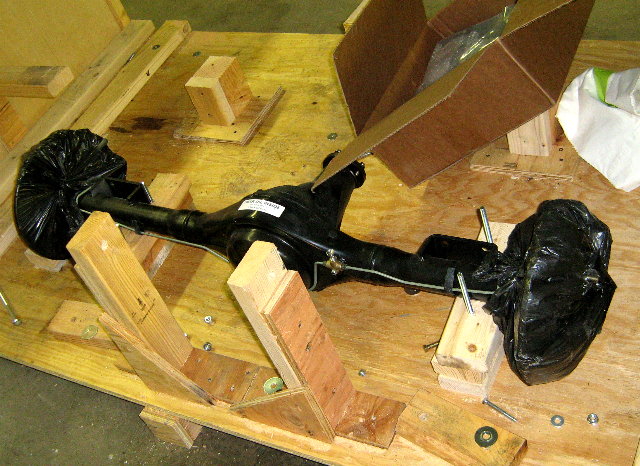
We thought about calling it a night when we heard the rear axle saying, "Install me.."
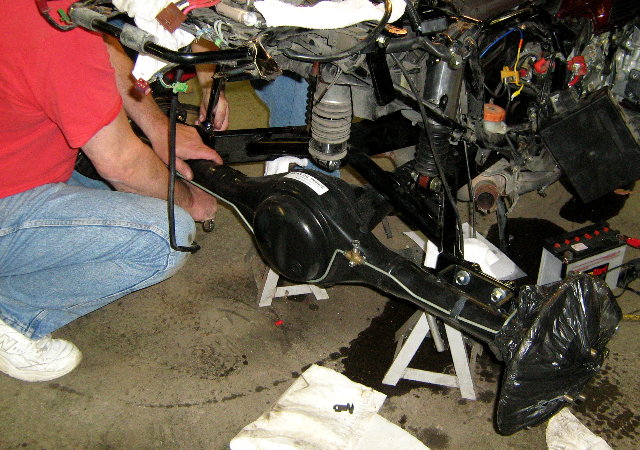
So we did.
Nice brakes.
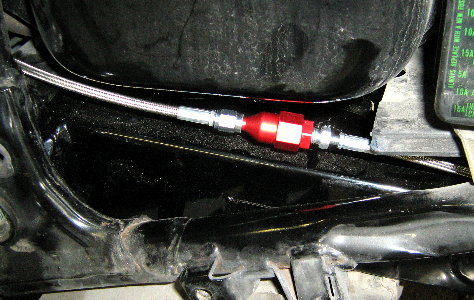 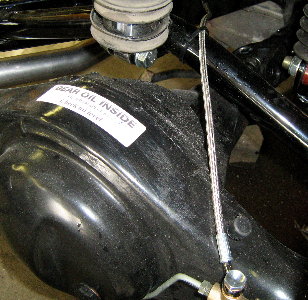 Saturday I had to work a 24-hour ambulance shift so I didn't get to help with the trike installation. I had to watch via the security cameras. John and Mike got a lot of things done. They connected the rear brake line and added hose rub protection.
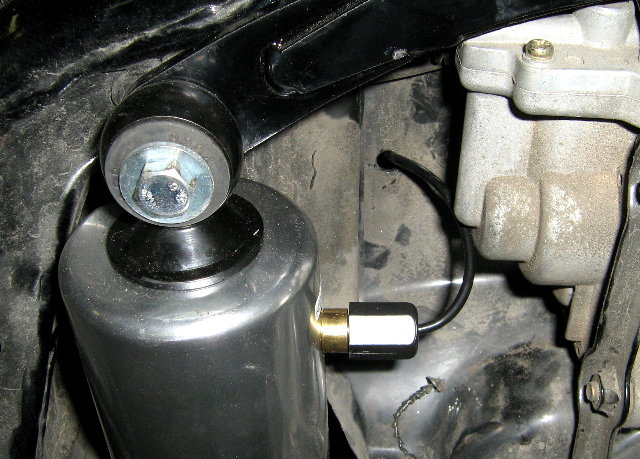
They hooked up the air lines to the three shocks...no leaks!
 The reverse resistor pack was remounted to the new bracket, and the wires extended. They also remounted the battery box.
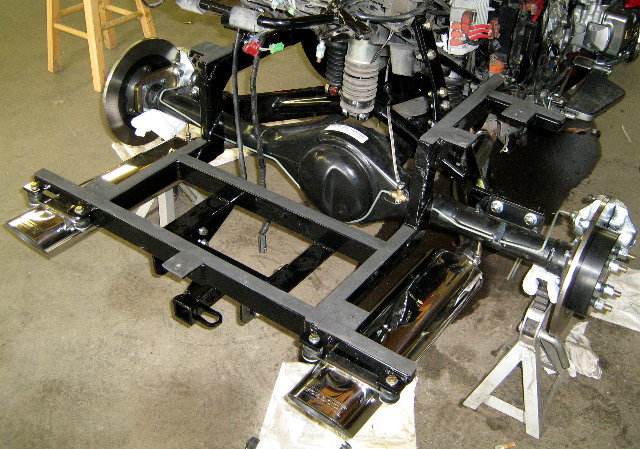 Next was the body mounting bracket. It bolts to the hanger bracket installed the other day and the mounting bosses for the saddlebag guards.
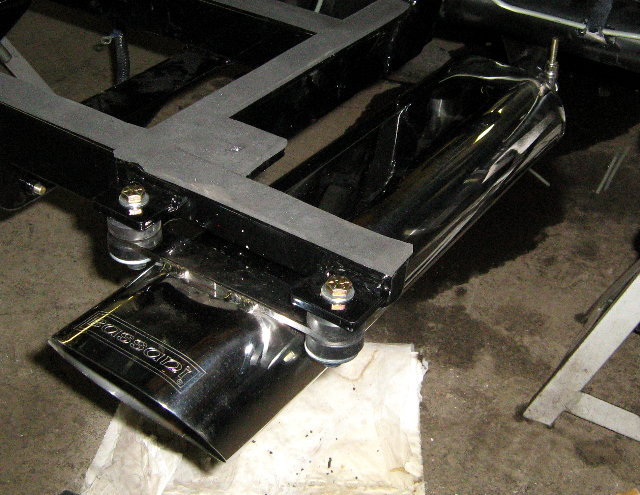 The exhaust pipes and mufflers were next. The mufflers bolt to the framing. They had to trim about 3/8" of the pipes on the end that goes into the mufflers. The exhaust clamps were high quality.
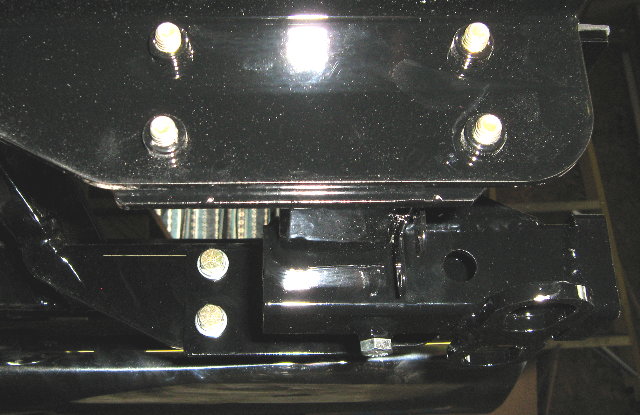
The trailer hitch was bolted on. The nuts are pre-welded to the frame. A nice touch. They called it a day after this.
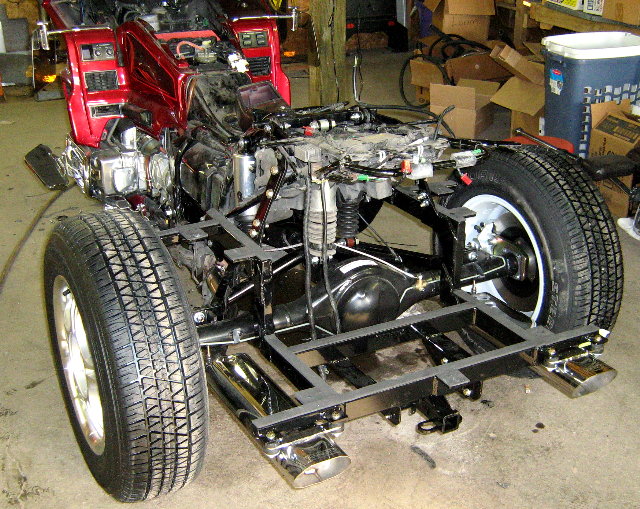 The first job of Sunday was to bleed the brakes. We put the wheels on, installed the battery, and John went for a test ride to check the mechanicals. Everything was fine.
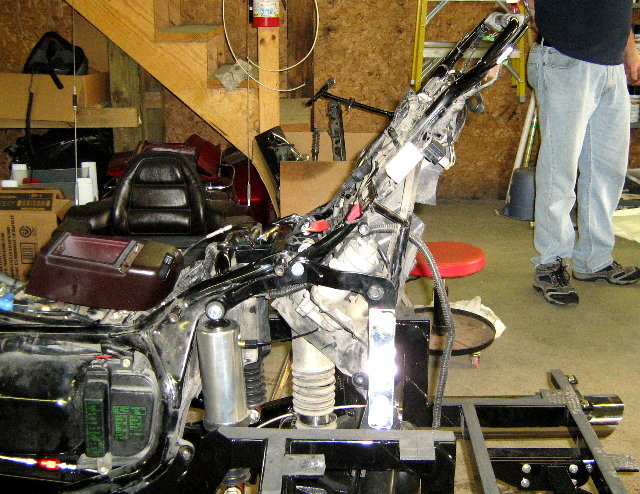 The next phase is the body installation. The instructions have you remove and loosen bolts and it's not totally clear why. This is why. You tilt the trunk mount bracket up to receive the trike body.
 The trike body is lifted over the bike and dropped in at about a 50-60 degree angle onto the bike. The trunk support bracket goes into the 'hole' of the trike body. This is why you trim so much stuff during the prep phase. Otherwise the body wouldn't pass.
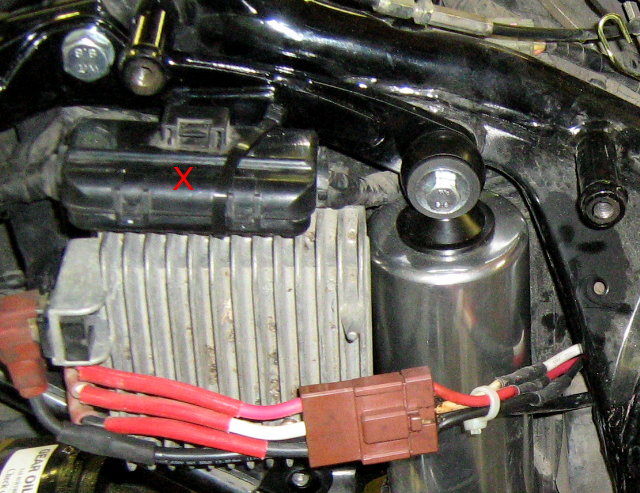 At first the body didn't seem to be fitting correctly. We eventually tracked the problem to this plastic junction box we had mounted on the reverse resistor assembly. The body was contacting it. With this box moved behind the resistor assembly the body sat on the frame perfectly.
 The body mounts at seven different locations. The three green X's are where the body is mounted when shipped. We used these locations first and checked the fit using the tires and side covers as a guide. Our eyes and a ruler agreed it fit perfectly here. The blue O's are fairly easy to drill. The red O's are another story. The mufflers don't allow you to drill straight up. We ended up drilling at an angle to make a pilot hole then drilling down through the body to make the final hole. The way the mufflers are mounted there isn't room to drop them. Not sure why there was this muffler/mounting bracket conflict in the design.
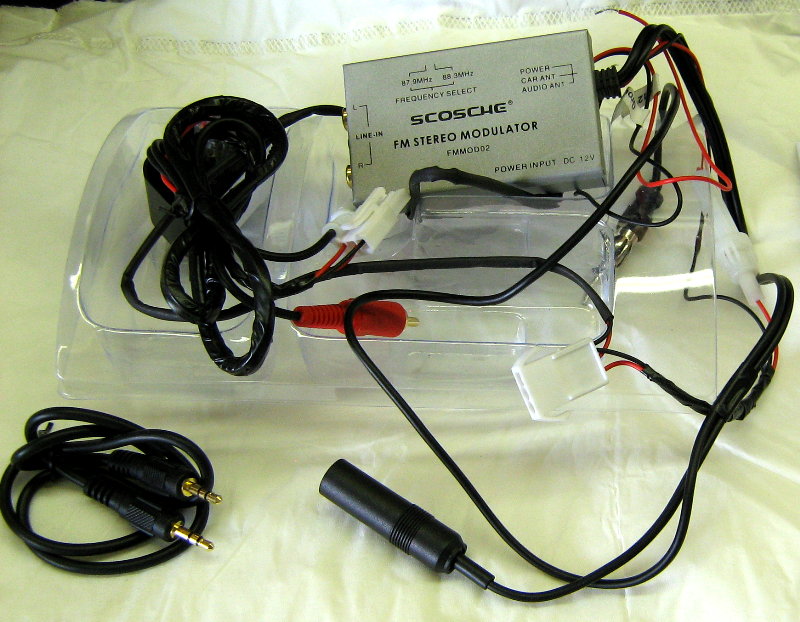
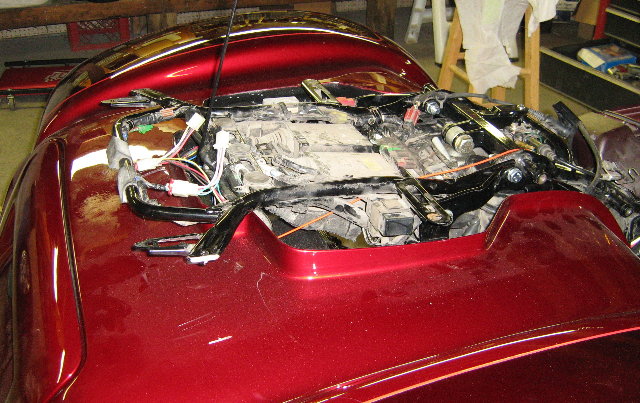 With the body mounted the 'trike' part of the installation is mostly done. Now it's the reinstallation of the Goldwing parts. The trunk bracket was lowered back down and rebolted. TAKE NOTE: One of the final conversion things you do is remove the latch cables for the saddlebags from the trunk and connect the trike trunk opening cable to the right saddlebag lever. This isn't difficult. You remove the cover from the inside of the trunk (eight screws) and remove/replace the cables. We connected the cable, adjusted it, reassembled everything, and life was good. We closed the trunk and tried the latches. Hmmmmmmmm. The trunk wouldn't open. Tried the key. No dice. We had fallen victim to what appears is a common GL1500 problem and is well documented here. When we had reassembled everything we had not reattached the bar that actually pops the trunk latches as it wasn't obvious. There are two solutions. (1) Bend a coathanger and fish around for the bar to pop the truck, or (2) drill a couple holes at the front of the trunk (behind the seat area) and stick a long screwdriver through and unscrew the actual latches. We tried the coathanger trick for over an hour then drilled the holes. We can laugh about it now.... When we installed the bottom trunk cover it didn't fit. We ended up having to take off a chrome trim piece. Easy solution. While the bike was apart we also installed an FM modulator and put on new trunk pocket doors.
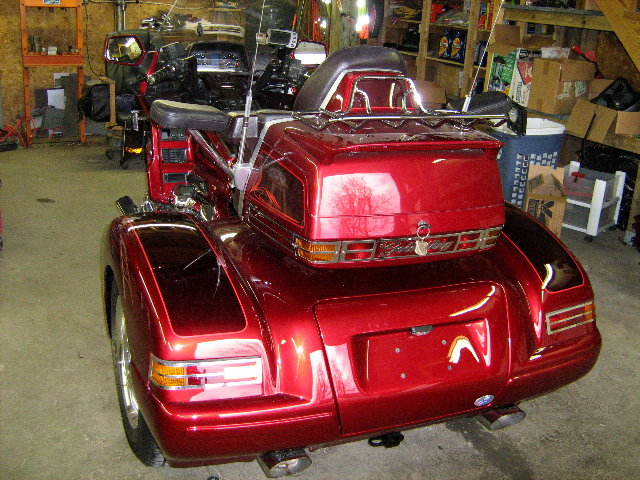
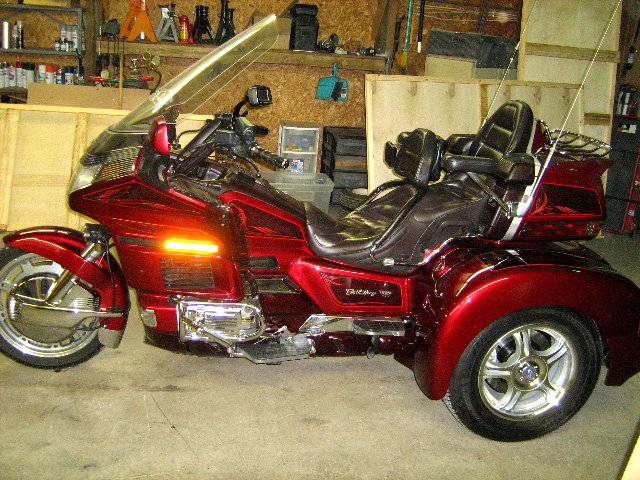
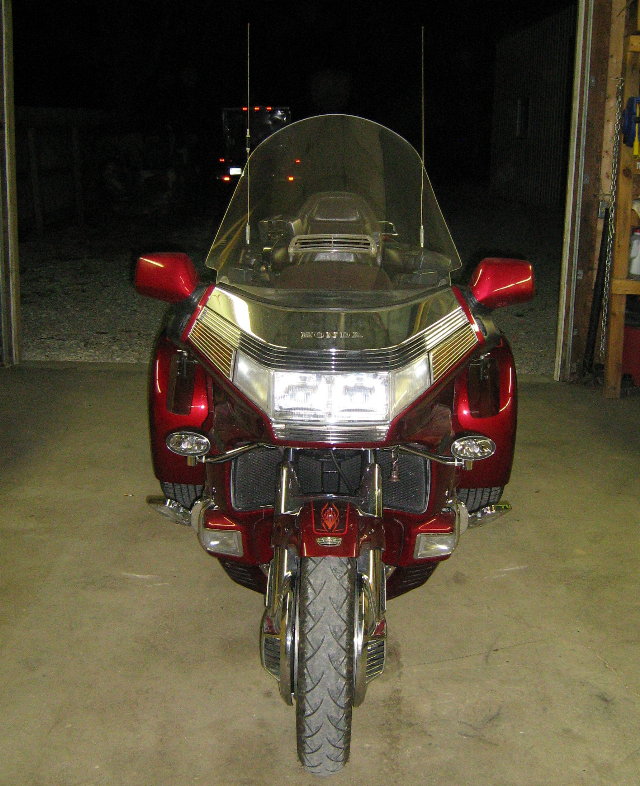
The trike is finished. All in all, the Champion kit was awesome. Well engineered. Flawless paint. Perfect fit. It made the installation fun.
|




 E-mail me